Hopper to Hopper Transfer with Ethernet Cable
Introduction:
In the world of computer networking, the Ethernet cable plays a crucial role in facilitating the transfer of data between devices. In this article, we will explore the process of hopper to hopper transfer using an Ethernet cable. We will discuss the steps involved and provide detailed explanations for each step.
I. Understanding Hopper to Hopper Transfer:
Hopper to hopper transfer refers to the direct transfer of data between two network devices, such as computers or routers, without the need for external intermediaries. This type of transfer is commonly used in scenarios where a direct and high-speed transfer is required.
II. Gather the Required Materials:
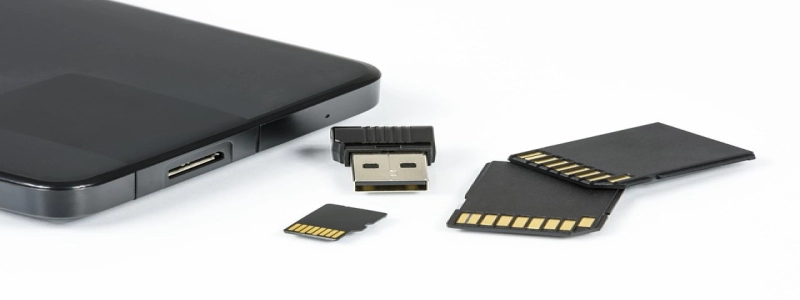
To perform hopper to hopper transfer with an Ethernet cable, you will need the following materials:
1. Two devices with Ethernet ports (e.g., computers or routers)
2. An Ethernet cable (preferably CAT6 or higher for optimal performance)
3. An Ethernet switch (if you have more than two devices to connect)
III. Connect the Devices:
Follow the steps below to connect the devices using an Ethernet cable:
1. Identify the Ethernet port on each device. It is usually labeled with an Ethernet symbol.
2. Insert one end of the Ethernet cable into the Ethernet port of the first device.
3. Insert the other end of the Ethernet cable into the Ethernet port of the second device.
4. If you have more than two devices, connect them to the Ethernet switch using additional Ethernet cables.
IV. Configure IP Addresses (Optional):
By default, most devices are set to obtain IP addresses automatically through the Dynamic Host Configuration Protocol (DHCP). However, if you wish to assign specific IP addresses manually, follow these steps:
1. Go to the network settings of each device.
2. Locate the TCP/IP settings and select \”Manual\” or \”Static IP.\”
3. Assign a unique IP address to each device. For example, Device A could have IP address 192.168.0.10, and Device B could have IP address 192.168.0.20.
4. Set the subnet mask to 255.255.255.0 on both devices.
5. Save the changes and exit the network settings.
V. Transfer Data:
Once the devices are connected, you can proceed with transferring data between them. Follow these steps:
1. Open the desired files or folders on the source device (the device from which you want to transfer data).
2. Select the files or folders you want to transfer.
3. Right-click on the selected items and choose \”Copy\” or use the copy shortcut (Ctrl+C).
4. Navigate to the destination device (the device to which you want to transfer data).
5. Right-click on an empty space and choose \”Paste\” or use the paste shortcut (Ctrl+V).
VI. Monitor the Transfer Progress:
To monitor the progress of the data transfer, you can use the file transfer window or a third-party software designed for this purpose. These tools provide information on transfer speed, remaining time, and any potential errors during the transfer.
Conclusion:
Transferring data from one hopper to another using an Ethernet cable is a convenient and efficient method. By following the steps outlined in this article, you can easily establish a direct connection between devices and transfer data at high speeds. Whether you are sharing files, backing up data, or setting up a small network, hopper to hopper transfer with an Ethernet cable is a reliable solution.