Starlink Ethernet Adapter Setup
1. Introdução
1.1. What is Starlink?
1.2. Why do you need an Ethernet adapter?
2. Setting up the Starlink Ethernet adapter
2.1. Required equipment
2.2. Connecting the Ethernet adapter
2.2.1. Locating the Ethernet port on the Starlink terminal
2.2.2. Connecting the Ethernet adapter to the Starlink terminal
2.3. Connecting to your device
2.3.1. Locating the Ethernet port on your device
2.3.2. Connecting the Ethernet cable to your device
3. Configuring the Ethernet settings
3.1. Checking network settings on your device
3.2. Assigning a static IP address (optional)
4. Troubleshooting
4.1. No internet connection
4.1.1. Check Ethernet cable connections
4.1.2. Restarting the Starlink terminal
4.2. Slow internet speed
4.2.1. Verify network settings on your device
4.2.2. Check for interference and obstructions
5. Conclusão
1. Introdução
1.1. What is Starlink?
Starlink is a satellite internet constellation being constructed by SpaceX. It aims to provide high-speed internet access to individuals and businesses around the world, especially in remote and rural areas where traditional internet connectivity options may be limited.
1.2. Why do you need an Ethernet adapter?
While Starlink provides internet connectivity wirelessly through a satellite dish, some devices may not have built-in Wi-Fi capabilities or have a weak Wi-Fi signal. In such cases, an Ethernet adapter can be used to establish a wired connection between the Starlink terminal and the device, ensuring stable and reliable internet access.
2. Setting up the Starlink Ethernet adapter
2.1. Required equipment
To set up the Starlink Ethernet adapter, you’ll need the following equipment:
– Starlink terminal
– Ethernet adapter
– Ethernet cable
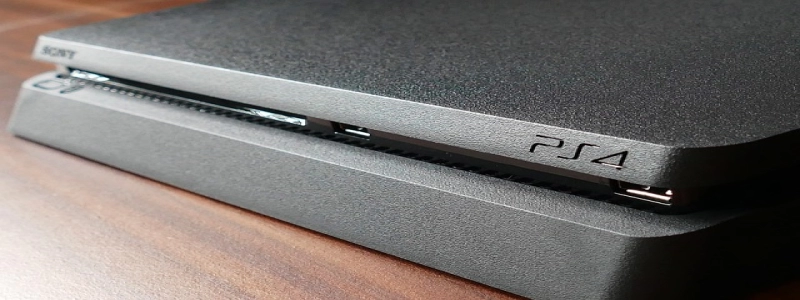
– Device with an Ethernet port (e.g., computer, gaming console, smart TV)
2.2. Connecting the Ethernet adapter
2.2.1. Locating the Ethernet port on the Starlink terminal
The Ethernet port on the Starlink terminal can usually be found at the back or bottom of the device. It is labeled \”Ethernet\” or represented by an Ethernet symbol.
2.2.2. Connecting the Ethernet adapter to the Starlink terminal
Take the Ethernet adapter and plug it into the Ethernet port on the Starlink terminal firmly. Ensure a secure connection.
2.3. Connecting to your device
2.3.1. Locating the Ethernet port on your device
Locate the Ethernet port on your device. It is commonly found on the back or side of computers, gaming consoles, and smart TVs. The port is labeled \”Ethernet\” or represented by an Ethernet symbol.
2.3.2. Connecting the Ethernet cable to your device
Connect one end of the Ethernet cable to the Ethernet port on your device. Plug the other end into the Ethernet adapter connected to the Starlink terminal. Ensure a secure connection on both ends.
3. Configuring the Ethernet settings
3.1. Checking network settings on your device
After connecting the Ethernet cable, check the network settings on your device. Ensure that the device is set to use the wired network connection (Ethernet) and not Wi-Fi.
3.2. Assigning a static IP address (optional)
If desired, you can assign a static IP address to your device. This can help in maintaining a consistent connection. Consult your device’s user manual or the manufacturer’s website for instructions on how to assign a static IP address.
4. Troubleshooting
4.1. No internet connection
If you are not getting an internet connection through the Starlink Ethernet adapter, follow these steps to troubleshoot:
4.1.1. Check Ethernet cable connections
Ensure that the Ethernet cable is securely connected to both the Starlink terminal and your device. Verify that there are no loose or damaged connections.
4.1.2. Restarting the Starlink terminal
Try restarting the Starlink terminal by disconnecting the power for a few seconds and then reconnecting it. This can help resolve temporary connectivity issues.
4.2. Slow internet speed
If you are experiencing slow internet speed through the Starlink Ethernet adapter, try the following troubleshooting steps:
4.2.1. Verify network settings on your device
Check the network settings on your device and ensure that the Ethernet connection is set to use the highest available speed. Some devices may have default settings that limit the connection speed.
4.2.2. Check for interference and obstructions
Ensure that there are no physical obstructions between the Starlink terminal and your device. Additionally, avoid placing the Starlink terminal near sources of interference such as microwaves or cordless phones, as these can affect the signal strength.
5. Conclusão
Setting up a Starlink Ethernet adapter can provide a stable and reliable internet connection for devices that require a wired connection. Seguindo as etapas descritas neste artigo, you can easily connect your device to the Starlink terminal and enjoy high-speed internet access. If you encounter any issues, refer to the troubleshooting section for assistance in resolving them.