Titel: Coax Camera to Ethernet: How to Connect and Configure
Einführung:
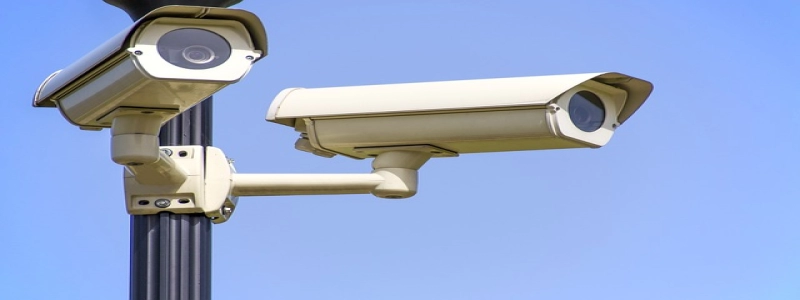
In recent years, the demand for high-quality surveillance systems has increased significantly. Many businesses and homeowners are upgrading their existing coaxial camera systems to network-based systems, which offer better picture quality, remote access, and advanced features. In diesem Artikel, we will guide you through the process of connecting and configuring a coax camera to Ethernet for seamless integration into your network.
ICH. Understanding the Basics
1. Coaxial Camera System:
– Explanation of coaxial camera systems and their limitations.
– Advantages of upgrading to Ethernet-based systems.
2. Ethernet Network:
– Overview of Ethernet networks and their benefits.
– Explanation of how Ethernet enables remote access and advanced features.
II. Step-by-Step Guide: Connecting a Coax Camera to Ethernet
1. Gather the Required Equipment:
– List of necessary equipment, including a coax to Ethernet converter, Ethernet-Kabel, and a power supply.
2. Choose a Suitable Location:
– Factors to consider when selecting the mounting location for the camera.
– Important considerations regarding power source availability.
3. Install the Coax to Ethernet Converter:
– Detailed instructions on connecting the coaxial camera to the converter.
– Proper cable management techniques for a clean setup.
4. Configure the Ethernet Network Settings:
– How to assign a static IP address to the camera for easy access.
– Introduction to network protocols and port forwarding for remote access.
5. Test the Connection:
– Step-by-step instructions for verifying the connection between the camera, converter, and Ethernet network.
– Troubleshooting tips for common connectivity issues.
III. Advanced Configuration and Features
1. Integrating with Video Management Software:
– Introduction to popular video management software for network-based camera systems.
– Instructions on setting up and configuring the software to manage multiple cameras.
2. Enhancing Security and Privacy:
– Tips for securing the Ethernet network and camera system from unauthorized access.
– Explanation of encryption options, password protection, and access control.
3. Utilizing Advanced Features:
– Introduction to advanced camera features such as motion detection, PTZ (pan-tilt-zoom), and night vision.
– Instructions on configuring these features and maximizing their usefulness.
Abschluss:
By following this step-by-step guide, you can successfully connect and configure a coax camera to Ethernet, allowing for better picture quality, remote access, and advanced features. Upgrading your surveillance system to an Ethernet-based setup will enhance your security measures and provide peace of mind.